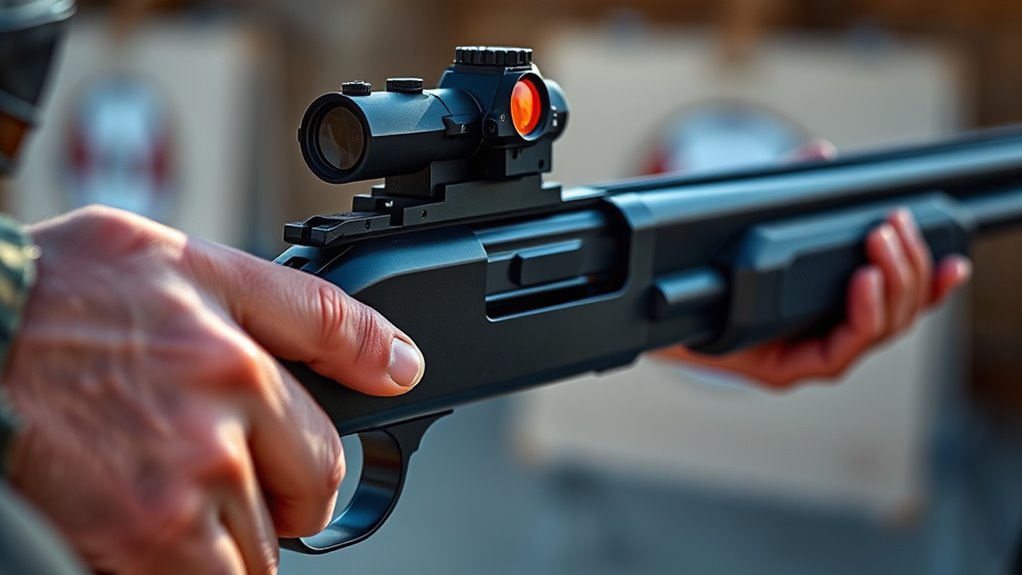
10 Steps to Perfectly Sight Red Dot on Shotgun
Struggling to get your red dot sight perfectly aligned on your shotgun? You’re not alone—many shooters find this process tricky at first. A precise sight setup can make all the difference in accuracy, so it’s worth taking the time to do it right.
To perfectly sight your red dot on a shotgun, start by ensuring the firearm is unloaded, then clean and check the mounting area. Choose a compatible, durable sight and mount it securely at a natural eye height.
Align the sight with the barrel using a bore sighter, then set a zero distance like 25 yards. Fine-tune windage and elevation, verify the zero at multiple ranges, and troubleshoot any issues.
Regular maintenance and rechecking will keep your sight precise. Keep practicing, and you’ll master a flawless setup that boosts your shooting confidence.
Key Takeaways
- Ensure the shotgun is unloaded, clean, and the mounting surface is free of debris before starting installation.
- Choose a red dot sight that’s compatible and durable, matching your shotgun’s mounting system and your shooting style.
- Mount the sight at a natural eye position. Make sure it’s securely attached and nothing’s blocking your view.
- Use a bore sighter to get an initial alignment. Adjust windage and elevation so the sight lines up with the barrel.
- Zero the sight at your preferred distance. Take some test shots and tweak the adjustments until you’re happy with the accuracy.
Prepare Your Shotgun for Red Dot Sighting
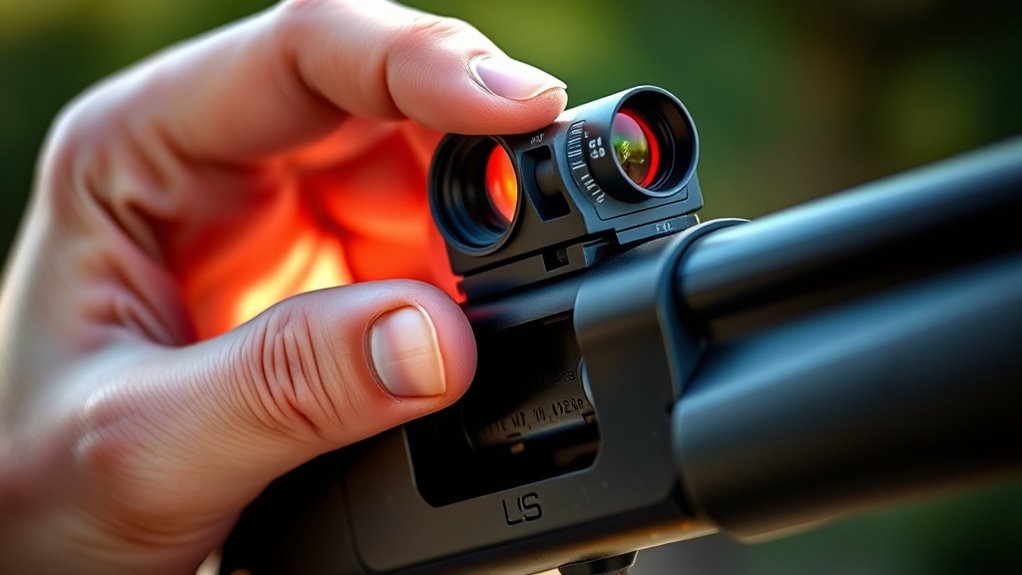
Before attaching a red dot sight, make sure your shotgun is properly prepared. Check that the firearm is unloaded and the chamber is empty to stay safe.
Clean the surface where you’ll mount the sight, removing dirt, oil, or debris that could interfere with attachment. Inspect the mounting area for any damage or irregularities that might affect stability.
If your shotgun has a rail or mounting platform, confirm it’s secure and free of obstructions. Remove or adjust any existing sights or accessories to avoid interference.
Finally, gather all the necessary tools and mounting hardware. Proper preparation ensures a secure fit and accurate sighting, giving you a solid foundation for precise aiming.
Choose the Right Red Dot Sight for Your Shotgun
Choosing the right red dot sight means making sure it’s compatible with your shotgun and built tough enough to handle tough conditions.
You’ll also want to think about the magnification level and reticle type to match your shooting style.
Getting this right lays a solid foundation for accurate, reliable aiming every time.
Compatibility With Shotgun
Selecting a red dot sight that properly fits your shotgun is crucial for peak performance. You need to verify the sight is compatible with your firearm’s mounting system and size.
Check whether your shotgun uses a Picatinny or Weaver rail, as some sights are designed specifically for these mounts.
| Compatibility Factor | What to Look For |
|---|---|
| Mounting system | Confirm if your shotgun has Picatinny or Weaver rails |
| Size and weight | Choose a sight that balances with your shotgun’s weight |
| Power options | Select a sight compatible with your shooting style |
| Mounting accessories | Verify it includes adapters if needed |
Matching your shotgun’s features with the sight’s specifications guarantees proper fit and peak performance.
Durability and Weather Resistance
Ensuring your red dot sight can handle tough conditions is key for reliable performance when you’re out in the field. You want a sight built to resist water, dust, and impacts without losing zero or clarity.
Look for models with rugged construction and high-quality materials like aircraft-grade aluminum. Make sure it’s sealed, waterproof, and fog-proof to keep out moisture and handle temperature swings.
Check the lens coating for scratch resistance, which helps extend the life of your sight. Also, verify that the battery compartment is sealed to prevent dirt and moisture from getting in.
Features like waterproof and fog-proof construction, impact-resistant housing, and scratch-resistant lenses are essential. A sealed battery compartment and shockproof design add extra durability for tough conditions.
Magnification and Reticle Type
Regarding red dot sights for your shotgun, understanding magnification and reticle types is key to getting the best performance. Most red dots don’t magnify, giving you a wide, clear view for quick target acquisition.
Some sights do have low magnification, like 1.5x or 3x. These help with longer-range shots without slowing you down, so you can stay accurate at different distances.
When choosing a reticle, think about your shooting style. A simple dot is fast and easy, perfect for close-range shots. A duplex or circle reticle offers more aiming options for varying distances.
Reticle size also matters. Smaller reticles give you finer aiming points, while larger ones are easier to see quickly. Match your sight’s magnification and reticle type to your typical shooting scenarios for the best results.
Mount Your Red Dot Sight Correctly
To get the best accuracy, you need to mount your red dot sight correctly. Pay attention to proper mount placement so the sight lines up naturally with your eye.
Make sure your mount is secured tightly. A solid, properly positioned mount makes a big difference in your shot performance.
Proper Mount Placement
Proper mount placement is essential for achieving consistent accuracy and quick target acquisition. You want the red dot to be comfortably within your line of sight, with minimal movement when you shoot.
Position the sight so that it’s aligned with your natural shooting stance and eye relief. Make sure the sight sits low enough to avoid obstructing your view but high enough for quick target acquisition.
Check that the sight’s window provides a clear, unobstructed view. Adjust the mount so the red dot is centered and stable, preventing shifts during recoil or movement.
Keep the sight close to your line of sight for quick target acquisition. Avoid mounting too high or too low.
Center the red dot within the sight window. Confirm the mount is level with the barrel.
Leave enough eye relief for comfort and accuracy.
Secure Mounting Technique
Securing your red dot sight tightly is key for consistent accuracy. A loose mount can cause shifts in your point of aim, ruining your shots.
To ensure a secure fit, tighten all screws evenly and avoid over-tightening, which could damage the mount or sight. Use a torque wrench if you have one, following the manufacturer’s recommended settings.
Properly aligned mounts help maintain consistency and make quick target acquisition easier. Double-check your setup regularly to keep everything secure.
| Step | Action | Tip |
|---|---|---|
| 1 | Check mount fit | No wobbling or movement |
| 2 | Tighten screws evenly | Use a torque wrench if possible |
| 3 | Confirm alignment | Sight stays steady during recoil |
| 4 | Recheck after firing | Verify no shift occurs |
Align the Red Dot With Your Shotgun’s Barrel
Aligning the red dot with your shotgun’s barrel is key to making sure your shots are accurate. When everything lines up, you can trust that your shots will hit right where you aim.
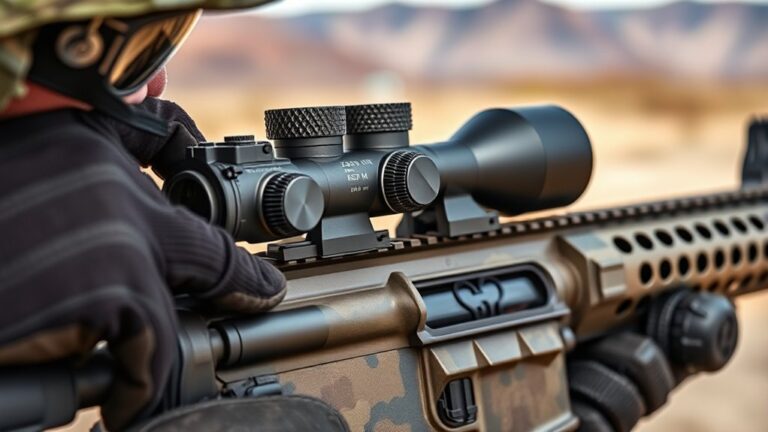
Start by placing the shotgun on a stable surface or holding it firmly. Look through the red dot sight and adjust the windage and elevation until the dot lines up with the barrel’s bore.
Secure the shotgun and align the red dot with the barrel’s bore for accurate shots.
Use a bore sighter to get an initial alignment. Make sure the shotgun stays steady during adjustments, and check the alignment from different angles.
Double-check that the sight’s mount is secure. Make small, incremental adjustments to fine-tune the alignment and achieve precision.
This process helps create a consistent point of impact and makes sure the red dot accurately shows where your shot will go. Proper alignment now will save you time and frustration during shooting.
Set Your Shooting Position and Zero Distance
Once you’ve aligned your red dot with the shotgun’s barrel, the next step is to set a consistent shooting position and figure out your zero distance. Your stance should be stable, comfortable, and repeatable to help with accurate shot placement.
Keep your feet shoulder-width apart, elbows slightly bent, and lean into the shot for better control. Find a position that lets you comfortably mount the shotgun and keep your sight aligned properly.
Next, choose a zero distance, usually 25 or 50 yards, based on where you typically shoot. Zeroing at this range helps your red dot match your shot pattern at that distance.
Sticking to the same stance and zero distance will boost your accuracy and make your shots more predictable in the future.
Adjust Brightness and Settings for Visibility
Adjusting the brightness and settings on your red dot is key for good visibility in different lighting conditions. If the dot is too bright, it can cause glare or hide your target, especially in bright sunlight.
On the other hand, if it’s too dim, you’ll have trouble seeing it in low light. To get the best view, start by adjusting the brightness to fit your environment.
Here are some tips: Increase brightness for bright daylight or outdoor shooting. Decrease it for indoor or low-light settings.
Test the dot from different angles to make sure it’s clear. Avoid setting it too bright to prevent eye strain.
Regularly check and tweak the brightness as the lighting around you changes. Proper calibration helps you acquire targets quickly and keeps your shots accurate.
Zero Your Red Dot Sight: Fine-Tune Windage and Elevation
After setting the brightness for ideal visibility, it’s time to zero your red dot sight. Start by placing your shotgun on a stable rest or supported position to keep it steady.
Aim at your target, usually at your typical shooting range. Adjust the windage knob to align the red dot horizontally with the point of impact. Turn it left or right until the dot matches where your shot hits.
Next, adjust the elevation knob to set the vertical alignment. Fire a shot to see how your adjustments look. Repeat these steps, fine-tuning windage and elevation until the red dot consistently hits your point of aim.
Getting these adjustments right ensures your sight is accurate and reliable for every shot.
Verify Alignment at Multiple Ranges
To make sure your red dot sight stays accurate at different shooting distances, it’s important to check its alignment at multiple ranges. This helps ensure your sight remains consistent whether you’re shooting close up or at longer distances.
Set up targets at different distances like 25, 50, and 100 yards, then take some test shots. Watch where your shots land relative to the dot and adjust if needed.
Set up targets at various distances and test your shots to ensure your red dot sight stays accurate.
Keep these tips in mind: confirm zero at both short and long ranges, use the same shooting stance, and note your adjustments for each distance. Check if the reticle shifts and re-verify your settings periodically.
Verifying your sight at multiple ranges helps catch misalignments early, so your shots stay accurate no matter the distance.
Troubleshoot Common Red Dot Sighting Issues
When troubleshooting red dot sighting issues, start by checking if the reticle is properly aligned to your point of aim.
Next, verify you’re addressing any parallax errors that can cause your shot to miss.
Finally, adjust the brightness settings so the reticle is clearly visible without causing glare or fading.
Aligning the Reticle Properly
Properly aligning the reticle is key to making sure your red dot sight works accurately. If the reticle isn’t aligned, your shots won’t land where you want them to.
Start by mounting the sight securely on your shotgun, making sure it doesn’t move around. Then, adjust the windage and elevation so the reticle is centered at your desired point of aim.
Check the reticle’s position at different distances to ensure it stays consistent. Remember, a misaligned reticle can lead to frustration and poor accuracy.
Here’s a quick rundown to help you out:
- Make sure the sight is mounted tightly and securely
- Adjust the windage and elevation screws carefully
- Verify the reticle’s position at various distances
- Keep your eye in the same spot behind the sight
- Recheck the alignment after making any adjustments
Addressing Parallax Errors
Parallax errors happen when your eye position shifts relative to the red dot, causing the point of aim to move. This can make your shots less accurate.
To prevent this, keep your eye directly in line with the sight’s center and maintain a consistent head stance. Don’t move your head or shift your eye position while aiming, as this can make the reticle appear to move.
If your sight has adjustable parallax settings, fine-tune them based on the manufacturer’s instructions, usually focusing at your expected shooting distance. Regularly check your eye alignment before each shot, especially if the dot drifts or if shots miss the mark.
Fixing parallax issues helps ensure your red dot remains a reliable aiming tool.
Ensuring Brightness Settings
Adjusting the brightness of your red dot is key for clear visibility and accurate shooting. If the dot is too dim, it can be hard to see in bright conditions. If it’s too bright, it might obscure your target or cause glare.
Start in a well-lit area and gradually increase or decrease the brightness until the dot stands out against the background. Make sure the brightness matches your environment, whether indoors or outdoors.
Test the setting in different lighting conditions to find the best level. Avoid setting it too high, as that can create glare. Use the adjustment buttons smoothly and steadily for precise control.
If your sight has auto-brightness, disable it if needed. Regularly revisit and fine-tune the brightness as lighting conditions change to keep your sight clear and effective.
Maintain and Recheck Your Sight for Long-Term Accuracy
Regularly inspecting and maintaining your red dot sight guarantees it stays accurate over time. Check the mounting hardware to confirm it remains tight and secure, especially after rough use or cleaning.
Keep the lens clean by gently wiping it with a soft cloth to prevent dust and grime from affecting visibility. Periodically verify the sight’s zero by shooting at a known distance and adjusting as necessary.
Gently wipe the lens with a soft cloth and regularly verify zero for optimal accuracy and clarity.
If you notice any shifts in accuracy, re-zero your sight promptly. Store your shotgun and sight in a dry, protected place to prevent corrosion or damage.
Regular maintenance and rechecks help catch issues early, ensuring your red dot remains reliable and precise when you need it most. Consistent upkeep extends the lifespan and performance of your sight.
Frequently Asked Questions
How Often Should I Re-Zero My Red Dot Sight?
You should re-zero your red dot sight whenever it shifts from impacts, after extensive shooting sessions, or if you notice it’s not aligning properly.
It’s a good idea to regularly check your sight’s zero, especially before critical shooting activities, to make sure your shots are accurate.
Environmental factors like weather and rough handling can affect your sight, so it’s smart to verify zero periodically.
Consider doing this every few hundred rounds or once a season to keep your shots precise.
Can I Use Any Red Dot Sight on My Shotgun?
Yes, you can use any red dot sight on your shotgun, but it’s best to pick one designed for shotguns or that’s built tough and durable.
Make sure it’s compatible with the mounting system on your firearm. Also, think about the sight’s size, weight, and battery life so it doesn’t affect how you handle your shotgun.
Proper mounting and zeroing the sight will give you reliable accuracy when you need it most.
What Tools Are Needed for Mounting and Aligning?
Think of mounting your red dot like adjusting a vintage radio—precision matters. You’ll need a screwdriver compatible with your sight’s mounting screws, a set of Allen wrenches, and possibly a torque wrench to guarantee proper tightness.
A bore sight can help with initial alignment, and a level or laser bore sighter can assist with fine-tuning. Always double-check your tools fit your specific sight and shotgun model for safety and accuracy.
How Does Weather Affect Red Dot Sight Visibility?
Weather really impacts how well you can see through your red dot sight. Rain or fog can cover the lens, making it tough to see the reticle clearly.
Bright sunlight might cause glare, which reduces contrast and makes it harder to aim accurately. Cold weather can lead to condensation inside the scope, while extreme heat could mess with its electronics.
To keep your sight working at its best, make sure to keep it clean, use lens covers in bad weather, and think about getting a weather-resistant model for reliable performance no matter what the conditions are.
Is It Necessary to Remove the Sight for Cleaning?
You don’t need to remove the sight for cleaning, but doing so can often give you a more thorough job.
Picture dust and grime as stubborn stains on a mirror—you can wipe the surface, or you can take it down for a deep clean.
If you keep the sight mounted, use a soft cloth and alcohol-based cleaner to gently wipe it.
Removing it occasionally guarantees peak clarity and longevity.
Conclusion
And just like that, with patience and a little practice, your red dot sight will feel like an extension of your shotgun.
Remember, it’s often the small adjustments that make the biggest difference. Sometimes, a tiny tweak can turn a missed shot into a perfect hit.
Keep checking your alignment, stay consistent, and enjoy the process.
Before you know it, your setup will be so spot-on, you’ll wonder how you ever shot without it.
Mastering your red dot sight on your shotgun takes time, but it’s worth it for the accuracy and confidence it brings.