How to Make Your Own Gun Safe
Are you tired of worrying about the safety of your firearms? Many people struggle with finding a secure, reliable way to store their guns at home. You’re not alone in wanting peace of mind and quick access when needed.
To make your own gun safe, start by researching local safety and legal guidelines to guarantee compliance.
Plan the design based on your firearms and space, choosing strong materials like steel and reinforcement. Use reliable tools to assemble the panels, secure the door, and install lock mechanisms.
Customize the interior for organized access and add safety features like tamper-proof locks.
If you’re ready to learn more about building a secure, effective DIY gun safe, keep exploring further steps.
Key Takeaways
- Research your local laws and safety regulations. This helps you stay compliant and choose secure locking mechanisms.
- Pick strong materials like steel. Also, plan a size that fits your firearms and space comfortably.
- When assembling the panels, make sure everything lines up properly. Secure attachments well to ensure durability.
- Add tamper-proof locks, reinforced hinges, and fire-resistant features. These upgrades boost your safe’s security.
- Customize the inside with shelves, hooks, and accessories. This makes it easier to access your firearms quickly and stay safe.
Understanding Legal and Safety Guidelines for Your DIY Gun Safe

Before you start building your DIY gun safe, it’s important to understand the legal and safety rules in your area. Laws about firearm storage can be very different depending on your state, city, or neighborhood.
Make sure to research local regulations so your safe meets all legal requirements, like locking mechanisms, secure mounting, and storage rules for certain firearms. Safety is just as important. Your safe should stop unauthorized access, especially if kids or visitors are around.
Think about safety features like tamper-proof locks and secure anchoring. Ignoring these guidelines can lead to legal trouble or serious safety risks. Taking the time to learn and follow these rules makes sure your DIY gun safe is both legal and safe.
Planning Your Gun Safe Design and Security Features
Designing your gun safe requires careful planning to ensure it offers the right mix of security, accessibility, and durability. Start by thinking about what firearms and valuables you’ll store and how often you’ll need quick access.
Consider the size and shape that fit your space and user needs. Make security a priority by including features like reinforced locking mechanisms, fire-resistant materials, tamper-proof hinges, and electronic or biometric locks.
Inside, organize for easy retrieval so trusted users can access items quickly. Evaluate potential vulnerabilities and make sure your design minimizes risks.
Selecting Materials and Tools for Building Your Safe
Choosing the right materials and tools is crucial for building a sturdy, secure gun safe. Start with strong, durable materials like steel or reinforced metal sheets to ensure security against tampering or forced entry.
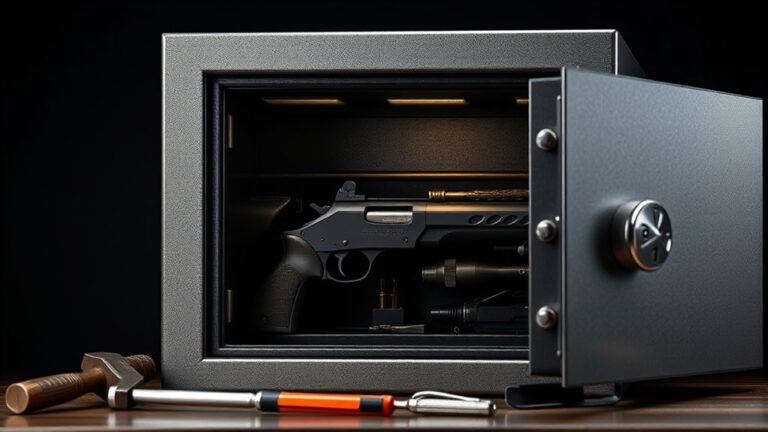
You’ll need reliable power tools like a drill, metal-cutting saw, and possibly a welder if you’re working with thick steel. For fasteners, opt for heavy-duty bolts and high-quality locks designed specifically for safes.
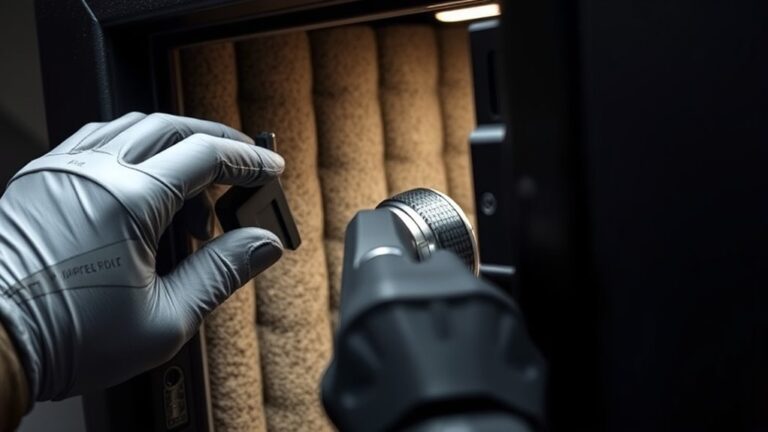
Consider adding insulation materials to help regulate temperature and prevent moisture buildup inside the safe. Safety gear such as gloves, goggles, and masks are essential when working with metal and power tools.
Invest in precision tools like measuring tapes and squares to ensure accurate cuts and proper assembly. Using the right materials and tools will make your safe resilient, long-lasting, and effective at protecting your firearms.
Assembling and Securing Your DIY Gun Safe Step-by-Step
To assemble and secure your DIY gun safe effectively, start by organizing all your pre-cut panels, fasteners, and hardware in your workspace. This helps everything run smoothly and reduces mistakes.
Begin by attaching the side panels to the bottom panel using screws or bolts. Make sure everything lines up properly before tightening. Then, secure the back panel using the same process.
Attach side panels to the bottom, ensuring proper alignment before tightening, then secure the back panel similarly.
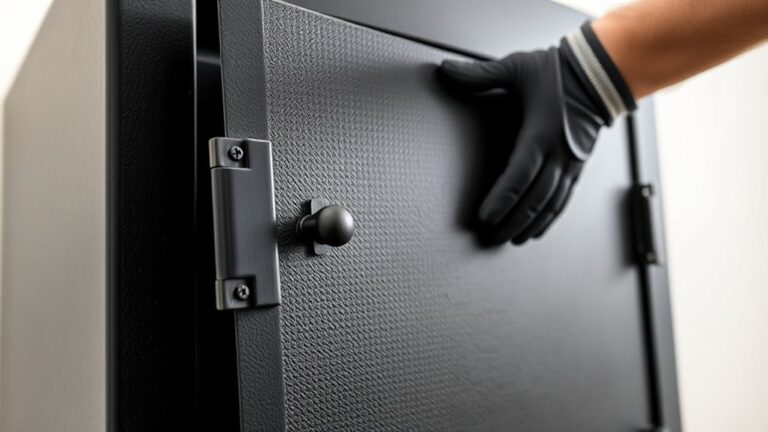
Next, install the door frame, ensuring the hinges are tightly fastened. Reinforce the structure with internal braces if needed. Finally, lock the safe with your preferred securing method.
Keep these tips in mind: double-check measurements before drilling or screwing, use a level for proper alignment, tighten all fasteners securely, and install the lock or latch system last.
Finally, test the door’s movement and lock functionality to make sure everything is working correctly.
Personalizing and Customizing Your Gun Safe
Personalizing your gun safe lets you add a unique touch and make it truly yours. You can choose custom accessories that fit your needs, making the safe more functional.
Add personal touches like labels or decorations to give it your style. Organizing the interior layout for easy access also makes a big difference.
These steps help create a safe that’s both practical and reflects your personality.
Choosing Custom Accessories
Adding custom accessories to your gun safe lets you tailor it exactly to your needs and preferences. You can boost functionality, organization, and security by choosing the right additions.
Think about installing adjustable shelving to make the most of your storage space or adding small drawer inserts for better organization. A dehumidifier helps prevent rust, and a keypad lock offers quick access.
Custom lighting can improve visibility, making it easier to find what you need quickly. Other handy accessories include weapon hooks, pistol racks, or label holders to keep everything neat and accessible.
Choosing the right accessories depends on your collection size, security concerns, and personal preferences. Thoughtful customization makes your safe both practical and uniquely suited to you.
Adding Personal Touches
Customizing your gun safe with personal touches not only makes it more functional but also reflects your unique style. You can add a personal touch by painting or applying decals that match your personality or installing custom foam inserts for a snug fit.
Consider adding a nameplate or engraved metal plate for a distinguished look. To help visualize, here’s a simple comparison:
| Traditional Safe | Personalized Safe |
|---|---|
| Plain exterior | Custom artwork |
| Basic foam lining | Custom foam inserts |
Adding these touches makes your safe stand out and feel more connected to you. Small details like personalized labels or decorative hardware turn a basic storage space into a reflection of your personality.
Organizing Interior Layout
Once you’ve added your personal touches to the exterior of your gun safe, the next step is to organize the interior for maximum space and easy access. Start by evaluating your collection and planning where each item should go.
Use adjustable shelves or foam inserts to customize compartments for different gun sizes. Incorporate vertical dividers for long guns, and small bins or drawers for accessories like ammunition, cleaning supplies, or locks.
Consider adding hooks or pegboards for quick access to items you use often. Keep heavier firearms at the bottom for stability, and lighter items up top. Regularly review your layout to ensure it stays efficient and safe.
Proper organization helps protect your firearms and makes retrieval quick and easy.
Testing and Ensuring Your Safe’s Security and Functionality
Before relying on your gun safe, it’s important to thoroughly test its security features and make sure it works properly. First, try different access methods, like combination dials or electronic keypads, to ensure they open smoothly and reliably.
Next, check the lock mechanism’s strength by attempting forced entry with simple tools. If it’s easy to breach, consider reinforcing weak spots. Also, test the hinges and latches to see if they stay sturdy under pressure.
Don’t forget to verify the safe’s fire and waterproof seals if they apply. Finally, practice opening the safe quickly in an emergency to confirm you can access your firearms fast when needed.
Make it a habit to re-test these features regularly, especially after moving or making modifications to the safe. This helps maintain both security and proper function over time.
Frequently Asked Questions
How Can I Discreetly Hide My DIY Gun Safe?
You can discreetly hide your DIY gun safe by placing it behind a false wall or inside a hollowed-out piece of furniture, like a bookshelf or cabinet.
Use a secret compartment under a false bottom in a drawer or beneath a removable panel in your closet.
Keep it in a rarely used space or blend it with other household items. The key is to make it look inconspicuous and accessible only to you.
What Are Common Mistakes to Avoid During Assembly?
You should double-check all measurements to ensure your safe fits perfectly in its designated spot. Avoid rushing through assembly; take your time to follow instructions carefully.
Don’t overlook securing the hinges and locks tightly—loose fittings can compromise security. Use the proper tools to prevent damage, and make sure all parts are aligned before finalizing.
Finally, test the safe’s functionality thoroughly to confirm it operates smoothly and securely before storing valuables.
How Often Should I Inspect My Gun Safe’s Security Features?
Ever wonder how often you should check your gun safe’s security features? It’s a good idea to inspect them at least once every three to six months. Regular checks help ensure locks, hinges, and electronic components are working properly.
Look for any signs of tampering or damage during your inspections. If you notice anything unusual, address the issue right away to keep everything secure.
Sticking to a routine inspection schedule helps prevent security lapses and makes sure your firearms stay safe and accessible only to you.
Can I Retrofit an Existing Safe With Better Locks?
Yes, you can retrofit your existing safe with better locks. Start by checking if your current lock is compatible with new options.
Choose a high-quality lock system, like electronic or biometric locks, that fit your safe’s specifications. Carefully follow the installation instructions or consider hiring a professional locksmith to ensure proper setup.
Upgrading your locks can significantly boost your safe’s security, giving you peace of mind knowing your firearms are better protected.
What Are the Signs Indicating My Safe May Be Compromised?
You’ll notice signs like difficulty opening your safe, strange noises, or visible tampering marks. If the lock or hinges feel loose or if you find scratches or dents, your safe might be compromised.
Also, if your security code or biometric system isn’t responding correctly, that’s a red flag. Regularly inspect your safe, and trust your instincts—any abnormality suggests it’s time to evaluate its integrity or change your security measures.
Conclusion
By following these steps, you’ll create a gun safe so secure, even a secret agent couldn’t crack it! Your DIY masterpiece will be a fortress of safety, surpassing all commercial safes in strength and ingenuity.
With your dedication and clever design, you’ll have a secure, personalized sanctuary for your firearms that’s virtually impenetrable. Get ready to dominate safety like a pro—your DIY gun safe will be legendary!