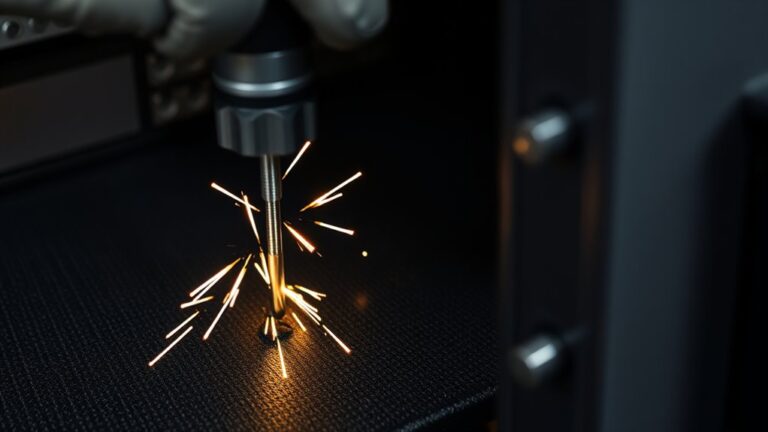
8 Simple Steps to Paint Your Gun Safe Like a Pro
Painting your gun safe like a pro can seem daunting, especially if you’re worried about making mistakes or ending up with a finish that looks DIY at best. You’re not alone—many people struggle with getting that smooth, professional look.
But with a little know-how, you can transform your safe into a sleek, personalized piece.
To paint your gun safe like a pro, start by gathering supplies and setting up your workspace outdoors or in a well-ventilated area. Clean and sand the surface to guarantee smooth adhesion, then apply a rust-proof primer followed by durable, weather-resistant paint with thin, even coats.
Use simple techniques for a flawless finish, add personal touches if desired, and let everything dry thoroughly.
Keep your safe in good condition by maintaining it regularly—learn more tips to achieve professional results.
Key Takeaways
- Clean and sand the safe thoroughly. This helps create a smooth, rust-free surface that’s perfect for painting.
- Use painter’s tape to mask off edges and hardware. This will give you clean, sharp lines and a professional look.
- Apply a rust-proof primer in thin, even coats. Let it dry completely before moving on to the next step.
- When painting, choose weather-resistant, high-quality paint. Use multiple thin layers for the best durability.
- Make sure to allow proper drying and curing time. Afterward, inspect the surface and touch up any areas if needed for a polished finish.
Why Repainting Your Gun Safe Is a Great Idea
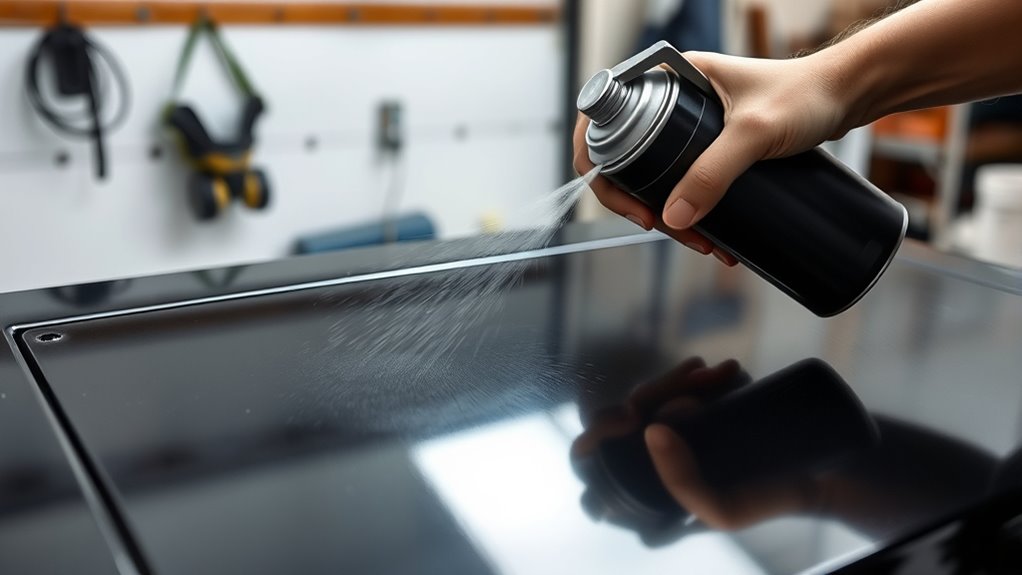
Repainting your gun safe is a smart way to protect it from rust and wear over time. A fresh coat of paint acts as a barrier, stopping moisture from seeping in and causing corrosion.
It also helps cover up scratches, dents, and rust spots that can weaken the structure. Plus, repainting gives your safe a clean, updated look, making it more appealing.
If you store valuable firearms, maintaining the exterior with new paint shows you care about its condition. Regularly repainting your safe also extends its lifespan, saving you money on repairs or replacements.
Gather Supplies and Set Up Your Workspace
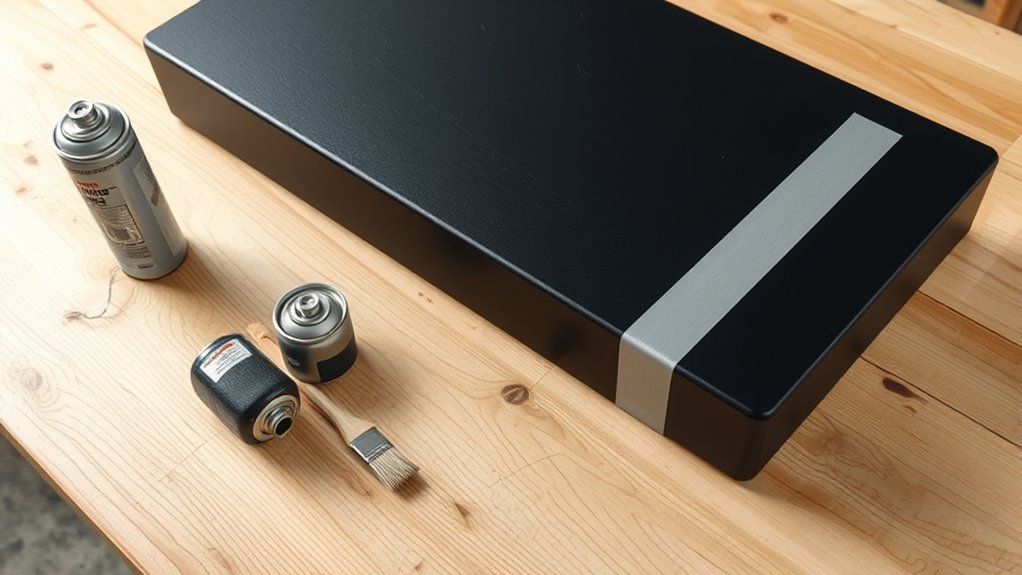
Before you begin, gather all the supplies you’ll need to make the painting process smooth. You’ll want primer, paint suitable for metal, brushes or rollers, painter’s tape, drop cloths, and protective gear like gloves and a mask.
Make sure your paint and primer are compatible and in enough quantities for the size of your safe. Set up your workspace in a well-ventilated area, ideally outdoors or in a garage with the door open.
Cover the floor and nearby objects with drop cloths to keep things clean. Keep your supplies organized and within easy reach so you don’t waste time searching. Proper preparation makes your job easier and results look professional, saving time and frustration.
Clean and Sand Your Gun Safe for a Smooth Finish
Start by thoroughly cleaning the surface of your gun safe to remove dust, grease, and any loose debris that could interfere with paint adhesion. Use a damp cloth or mild cleaner to wipe down all areas, making sure no residue remains.
Once it’s clean, dry the surface completely to prevent moisture from affecting the paint. Next, sand the entire surface with medium-grit sandpaper to create a rough texture that helps the paint stick better.
Focus on any areas with rust or peeling paint, sanding until smooth. Wipe away dust with a tack cloth or damp cloth after sanding. This step ensures a clean, smooth surface and reduces imperfections.
Proper cleaning and sanding make all the difference in achieving a sleek, durable coat of paint. It’s worth taking the time to prep everything so your finish looks professional and lasts longer.
Choose Durable Paint and Primer for Long-Lasting Results
To make sure your gun safe stays protected over time, you need to pick the right paint and primer.
Look for weather-resistant paint that can handle moisture and temperature swings.
Also, choose a rust-proof primer to stop corrosion from happening.
These choices will give your safe a tough, long-lasting finish.
Selecting Weather-Resistant Paint
Choosing the right weather-resistant paint is essential for keeping your gun safe protected and looking great over time. Look for paints that are made specifically for outdoor durability, resistance to moisture, and UV exposure. These features help prevent rust, fading, and peeling.
When selecting paint, consider the options below:
| Type of Paint | Key Feature | Best Use Case |
|---|---|---|
| Acrylic Enamel | Flexible, resistant to cracking | General outdoor protection |
| Urethane | Superior durability | Heavy-duty environments |
| Epoxy | Strong adhesion, chemical-resistant | Long-lasting finish |
Pick a paint that matches your climate and application needs. Proper preparation and choosing the right weather-resistant paint will help keep your gun safe and looking fresh for years.
Choosing Rust-Proof Primer
Selecting the right rust-proof primer is key to ensuring your paint sticks well and lasts a long time. You want a primer made specifically to resist rust and corrosion, especially if your gun safe is exposed to moisture or humidity.
Look for primers labeled as rust-inhibiting or rust-proof, and make sure they’re compatible with your chosen paint. Applying a tough primer creates a solid base that bonds well and prevents rust from forming underneath the paint.
Before priming, clean the surface thoroughly—remove dirt, grease, or rust. Use even strokes when applying the primer and let it dry completely before moving on to your top coat.
Taking these steps helps your finish last longer and look professional.
Apply Primer and Paint for a Flawless Look
Applying primer and paint is essential for a smooth, professional finish on your gun safe. Start by applying a thin, even coat of primer with smooth strokes to cover all surfaces. Let it dry completely before lightly sanding any imperfections.
Next, choose a high-quality paint suitable for metal surfaces. Apply it in thin layers, making sure each coat dries fully before adding the next. This approach helps create a durable, flawless finish.
Use high-quality, metal-friendly paint in thin coats for a durable, flawless finish.
To avoid streaks or uneven coverage, use a quality brush or spray gun. Remember, using thin coats prevents drips and uneven texture.
Sanding between coats helps create a smoother, professional look. And choosing quality paint guarantees durability and a great finish.
Use Simple Techniques to Paint Like a Pro
To achieve a professional-looking finish, start by prepping your safe thoroughly to guarantee smooth paint application.
Use high-quality paint to get even coverage and lasting results. With these simple techniques, you’ll make your gun safe look sharp and well-finished.
Prep for Perfect Finish
Getting your gun safe ready for painting is all about laying a solid foundation. First, clean the surface thoroughly to remove dust, grease, or rust. Use a mild detergent and water, then dry completely.
Sand the surface lightly with fine-grit sandpaper to create a smooth, slightly rough texture that helps the paint adhere better. Wipe away any dust with a tack cloth or damp rag.
Fill in any dents or scratches with a suitable filler, then sand smooth once it dries. Mask off areas you don’t want painted, like hinges or locks, with painter’s tape.
Taking these prep steps guarantees your paint will go on evenly and last longer, giving you that professional-looking finish you’re aiming for.
Use Quality Paint
Using high-quality paint is essential for a durable, smooth finish on your gun safe. It ensures your paint job lasts longer and looks professional. Cheaper paints might save you money upfront but often chip, peel, or fade quickly.
Invest in a reputable brand known for durability and smooth application. Apply thin, even coats and give each layer enough time to dry properly. High-quality paint also offers better color coverage and reduces the need for multiple coats.
Personalize Your Safe With Custom Finishes and Details
Adding custom finishes and details is a great way to make your gun safe uniquely yours and show off your personal style. You can add stenciled designs, monograms, or even intricate patterns to give it a one-of-a-kind look.
Consider using metallic or matte finishes for different effects, or add decals and vinyl wraps for quick customization. Personal touches like painted stripes, borders, or symbols can really make your safe stand out.
Metallic, matte, decals, or painted details—customize your safe to reflect your style and make it uniquely yours.
Take your time planning your design to ensure it complements your space and personality. Use fine brushes or stencils for precision, and seal your artwork with a clear coat to protect it from scratches and wear.
Customizing your safe not only makes it look better but also turns it into a true reflection of your style and personality.
Allow Proper Drying and Maintain Your Painted Safe Over Time
Once you’ve finished your painting, it’s important to give it plenty of time to dry completely before handling or putting anything inside your safe. Rushing this step can lead to smudges or damage to the finish.
To keep your paint looking great over time, try these tips: Keep the safe in a dust-free spot during drying to avoid debris sticking. Don’t touch or bump the surface until it’s fully cured, which usually takes 24-48 hours.
Regularly clean the surface with a soft, damp cloth to remove dust and dirt. If you notice chips or scratches, touch them up right away to prevent rust or further damage.
Proper drying and maintenance will help your painted safe stay looking professional and protected for years to come.
Frequently Asked Questions
How Long Does the Entire Painting Process Typically Take?
The entire painting process usually takes about 4 to 6 hours, depending on your prep work and drying time. You’ll spend time cleaning and sanding the surface, applying primer, and then painting with multiple coats.
Allow at least a few hours between coats for drying. Don’t rush; patience guarantees a smooth, professional-looking finish.
The total time can extend if you include drying time or additional coats.
Can I Paint My Gun Safe Outdoors?
You can absolutely paint your gun safe outdoors, but imagine yourself in a breezy, shaded spot where wind won’t blow dust onto your fresh paint.
Choose a dry, overcast day to avoid sun’s glare and guarantee even drying.
Set up a tarp to protect the ground, and wear a mask for fumes.
With these precautions, your safe will look professional and durable, just like if you painted it inside.
What Safety Precautions Should I Follow During Painting?
You should wear a mask and goggles to protect your lungs and eyes from fumes and splatters. Make sure the area is well-ventilated by opening windows or using fans.
Wear gloves to prevent paint from contacting your skin. Keep the workspace free of flames or sparks, since fumes can be flammable.
Finally, read and follow all safety instructions on your paint and primer labels for safe application.
How Often Should I Repaint or Touch up My Gun Safe?
You should repaint or touch up your gun safe whenever you notice chips, scratches, or fading paint. Regular inspections every 1-2 years help catch small issues early.
If your safe is exposed to moisture or harsh conditions, consider doing touch-ups more often. Keeping the paint in good shape not only looks better but also protects the metal from rust and corrosion.
This helps ensure your safe stays secure and durable over time.
Are There Eco-Friendly Paint Options Suitable for Gun Safes?
Did you know that over 70% of people prefer eco-friendly products? You’ll be happy to know there are eco-friendly paints suitable for gun safes.
Look for low-VOC or zero-VOC paints, which reduce harmful fumes and environmental impact. These options offer durable, quality finishes without sacrificing safety.
Always check product labels to verify they’re safe for metal surfaces. That way, you protect your safe, the environment, and your health.
Conclusion
Don’t worry if you’re not a DIY pro. These steps are simple and will give your gun safe a fresh, personalized look.
Some people might think repainting is messy or takes too long. But with patience and the right supplies, it’s easier than you think.
A new coat of paint not only makes your safe look great but also helps protect against rust and wear.
So go ahead, give it a try. You’ll be surprised at how professional your finished result can be.
And remember, painting your gun safe is a straightforward way to keep it looking good and lasting longer.